Showing posts with label diy. Show all posts

Mar 16, 2012

Blog challenge day 2 HOW TO: Up cycled-recycled tee shirts!

up cycled tee shirt's

Ok first thing you are going to need is some tee shirts!
these are some cool shirt's i that i got  from goodwill for about $1.50 each: 
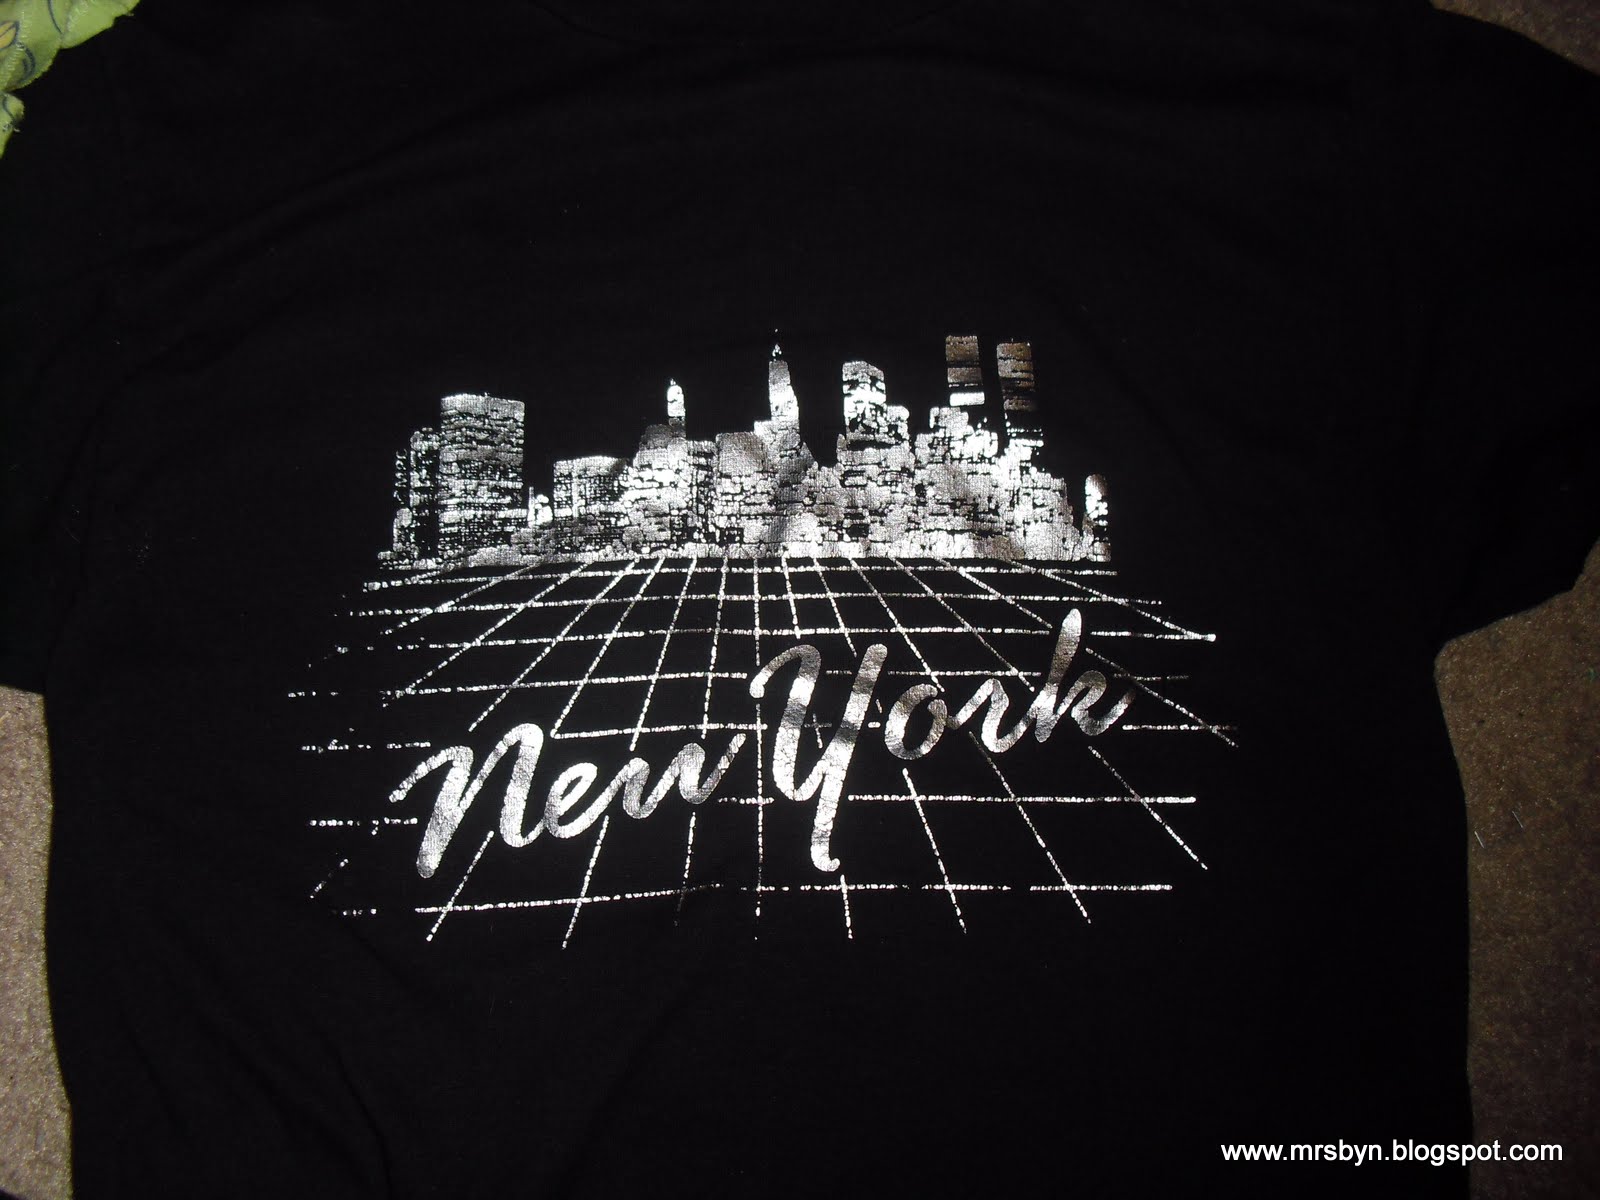


   Here is the NEW YORK shirt that I made into this:


this is how:


First lay your tee shirt out FLAT. make sure its not wadded up anywhere or anything!
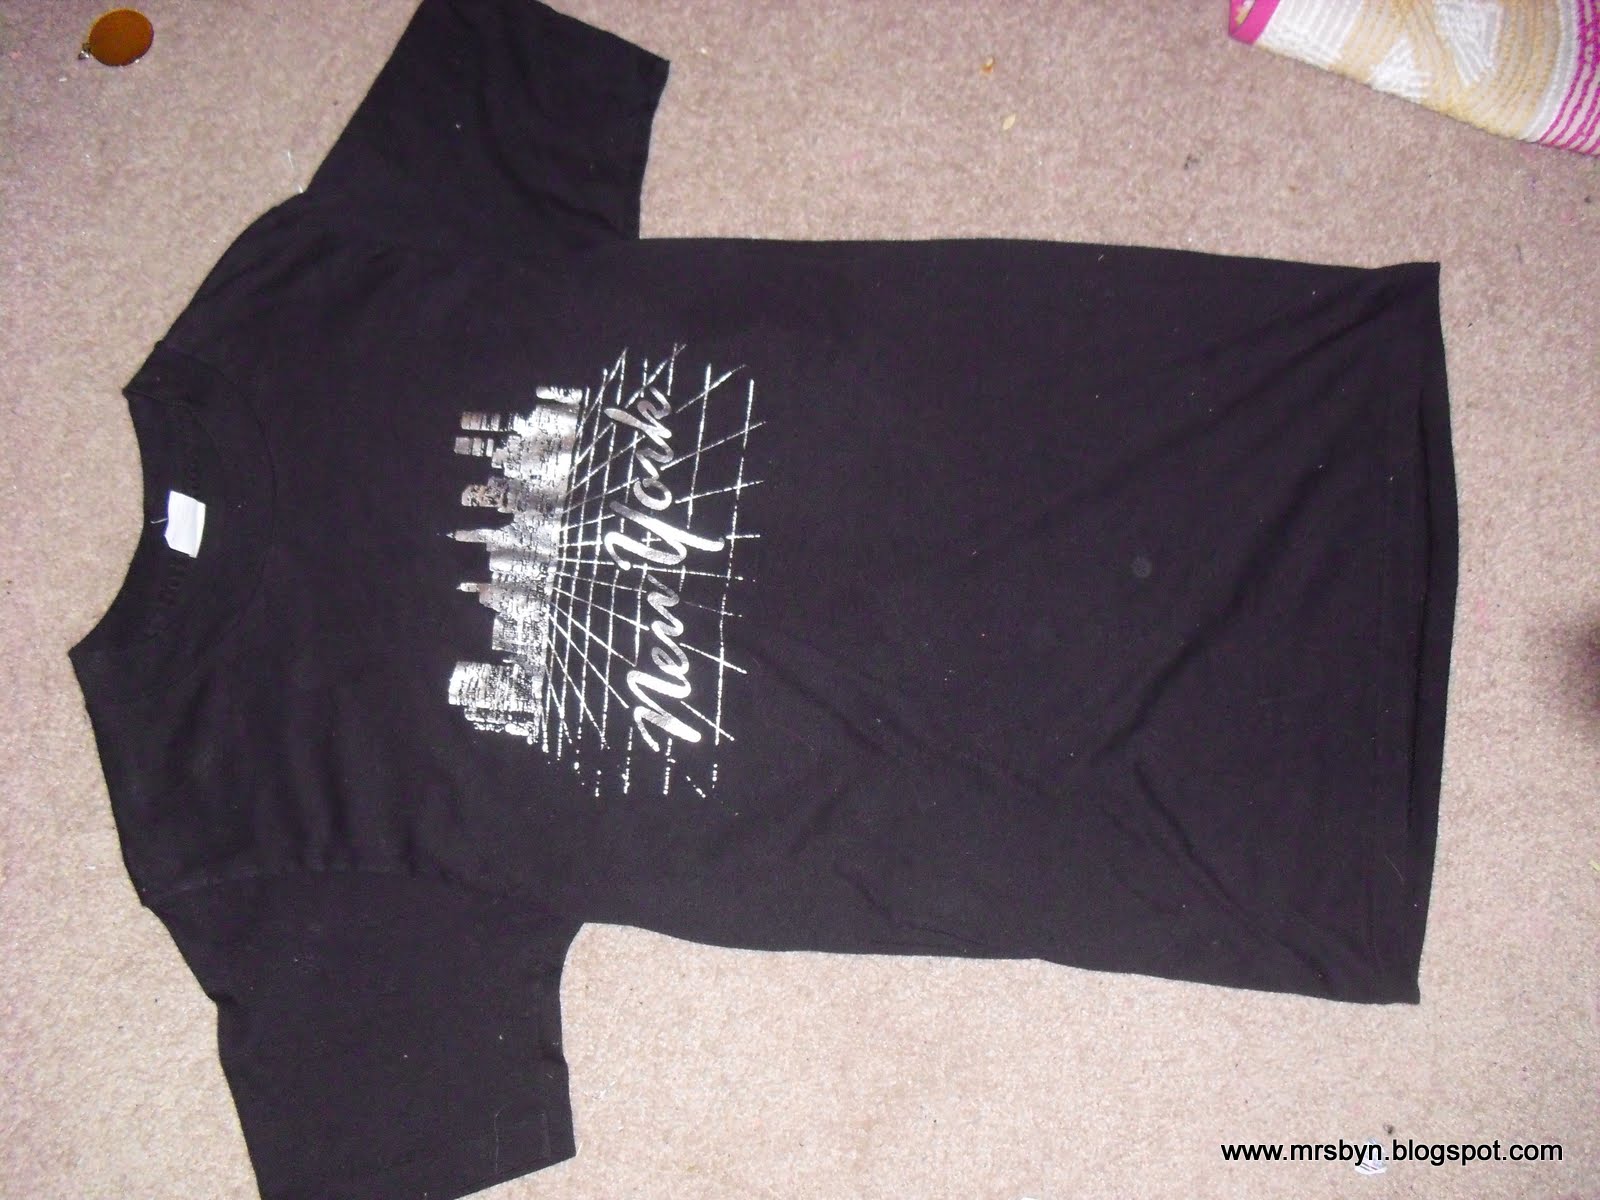


start out by cutting of the sleeve's and the collar of the tee right at the seams like so
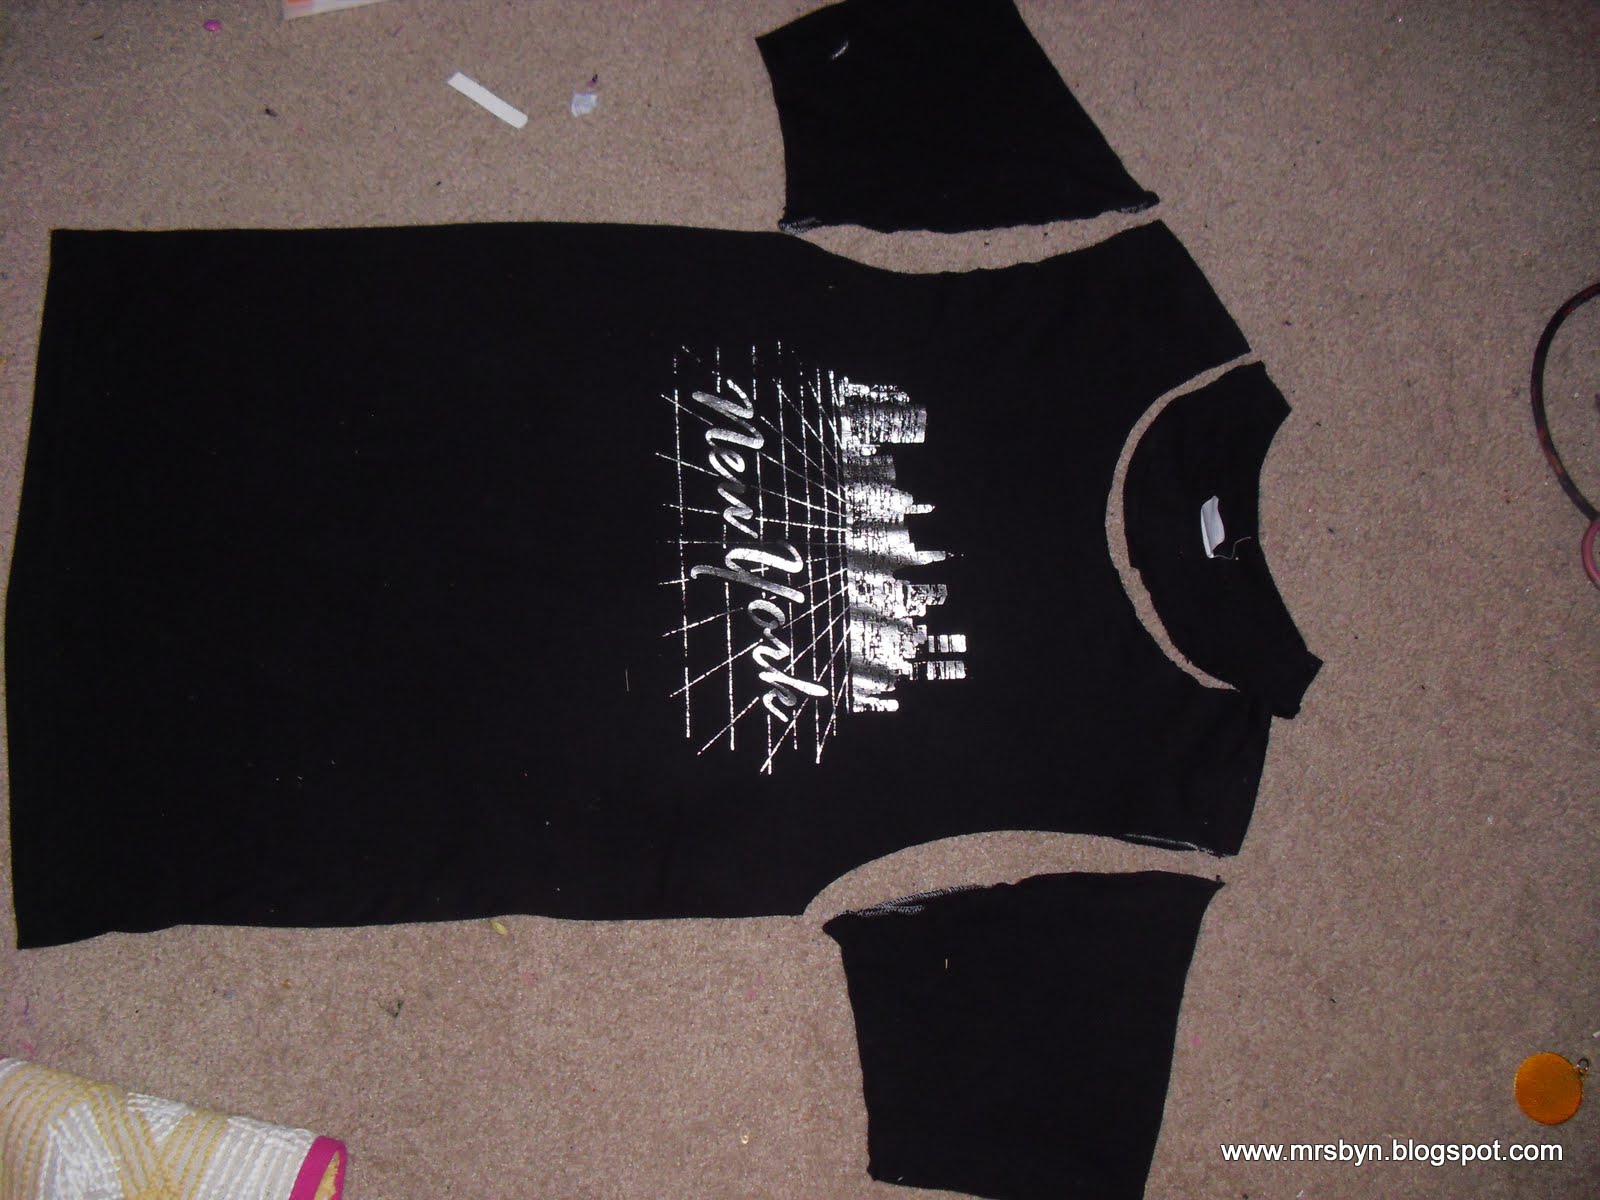

then we are going to flip the shirt over and lay it out flat again and mark the shirt (with a white charcoal pencil) mark a six inch band at the bottom of your shirt and two lines from the top left side of the neckline and the top right side of the neckline all the way down to the top of the 6" band at the bottom of the shirt like this:


then CAREFULLY cut (only the back layer of the shirt not the front) the line from the top right side of the neckline all the way down to the white line marking the 6" band at the bottom of the shirt do the same with the left side so you end up with a rectangle shape out of the back of your tee


make sure not to cut into the 6" band at the bottom


then cut from the bottom of the "arm pit seam" all the way down the side seam to the top of that white line marking the 6" band at the bottom again NOT cutting into the band so you end up with something like this:
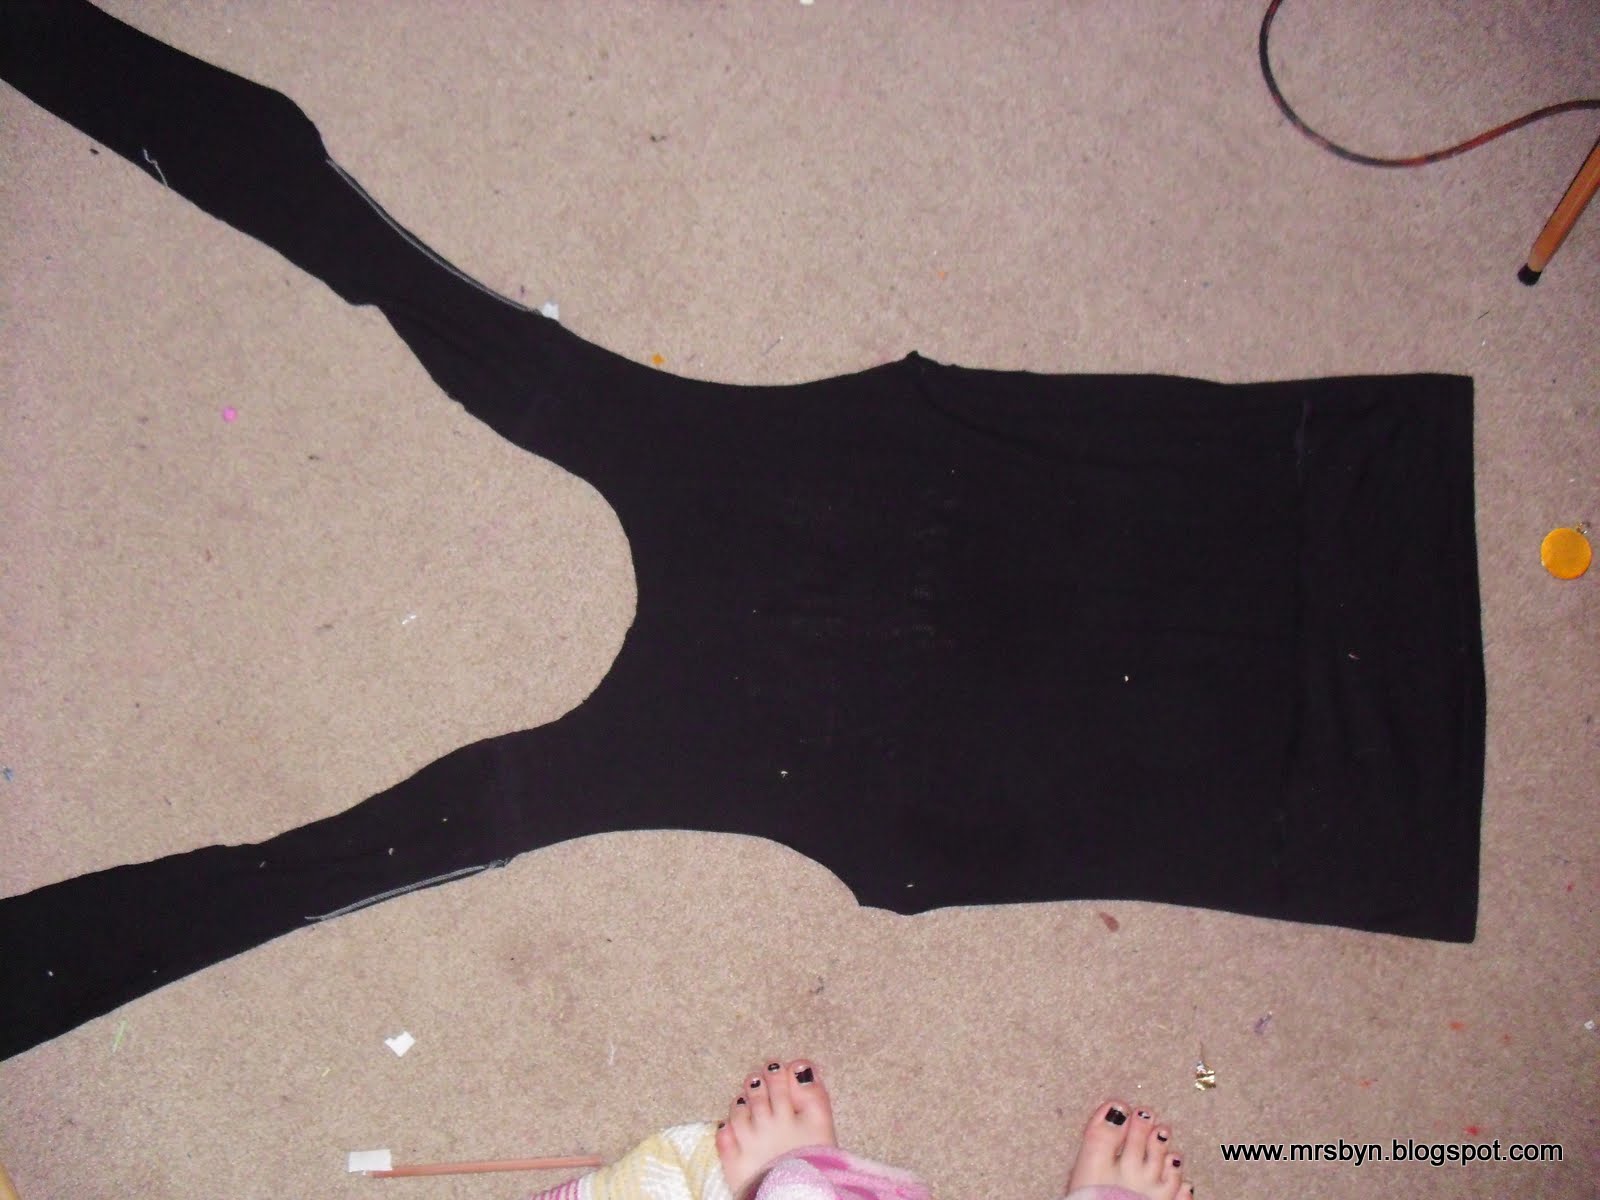


then take the "sleeve looking things" at the top of your shirt and cut 3 to 6 strips down the "sleeve" not cutting them completely of the shirt like so:
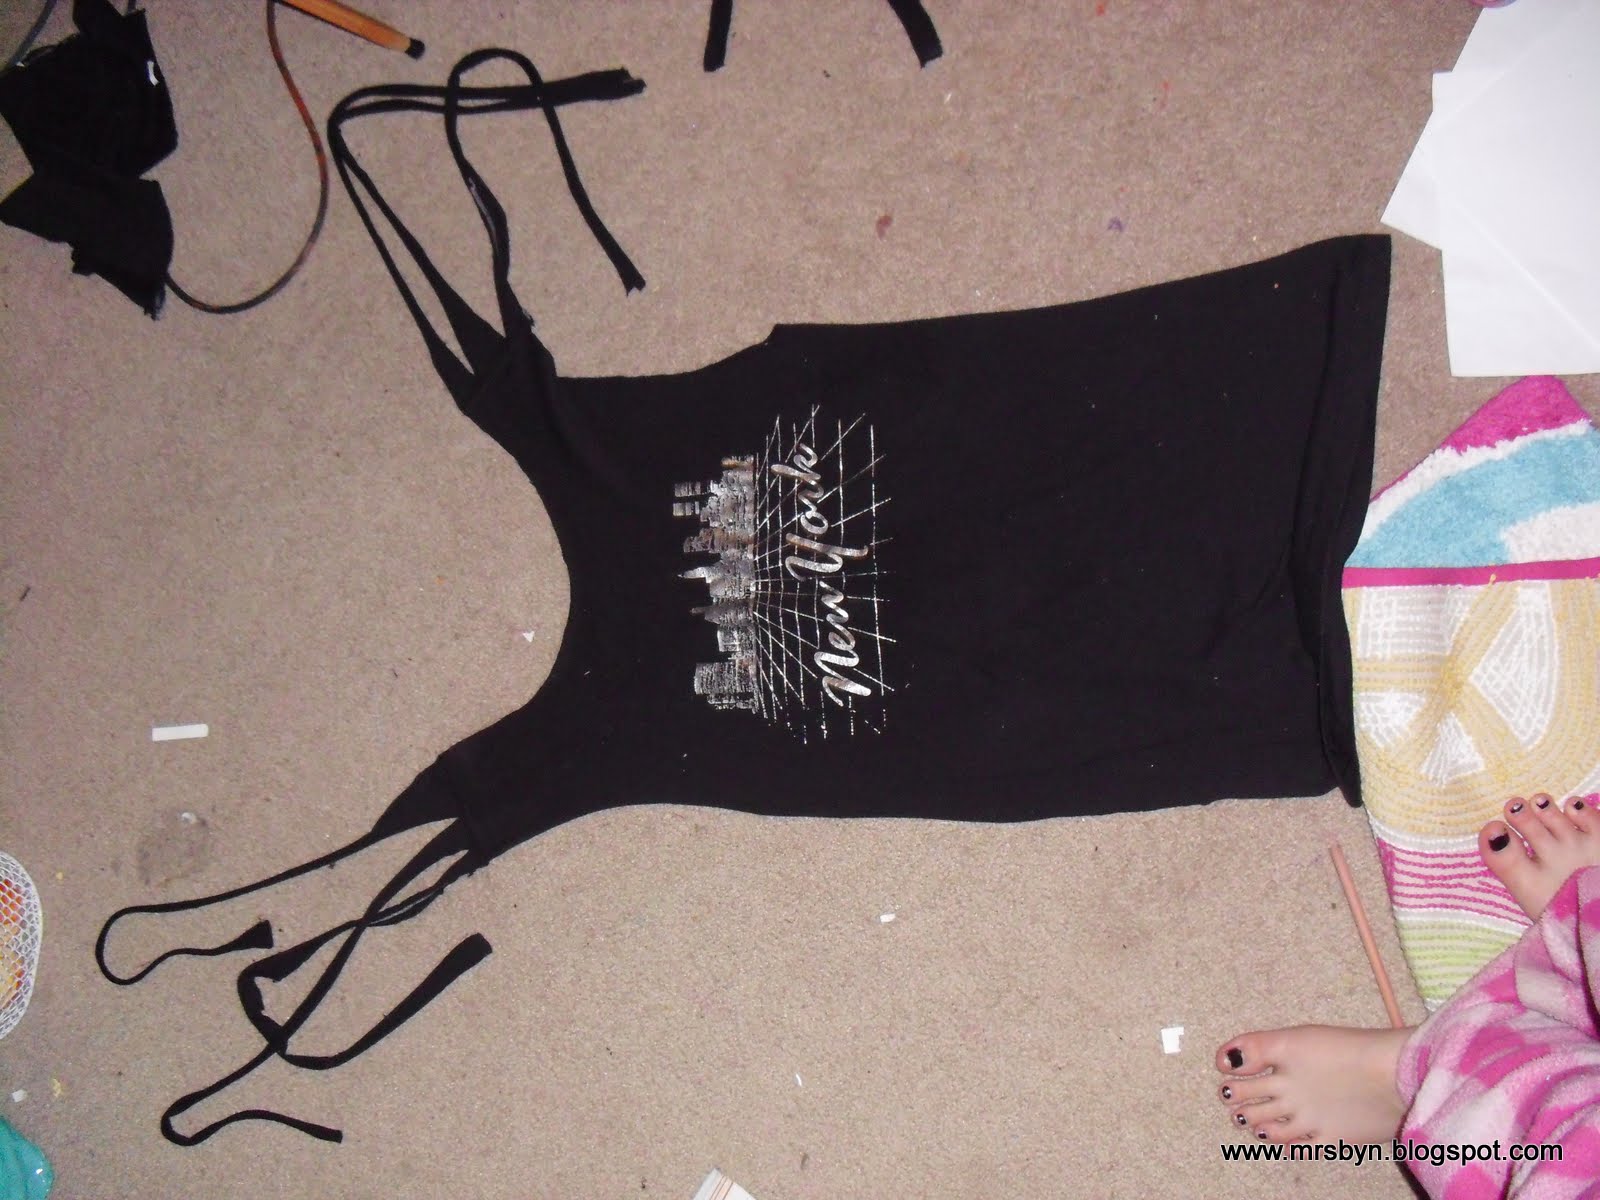


so they are still attached


then if you had the shirt on the front side we are going to flip it over AGAIN and place the "strings" about an inch away from each other on the OPPOSITE side of the shirt like this 
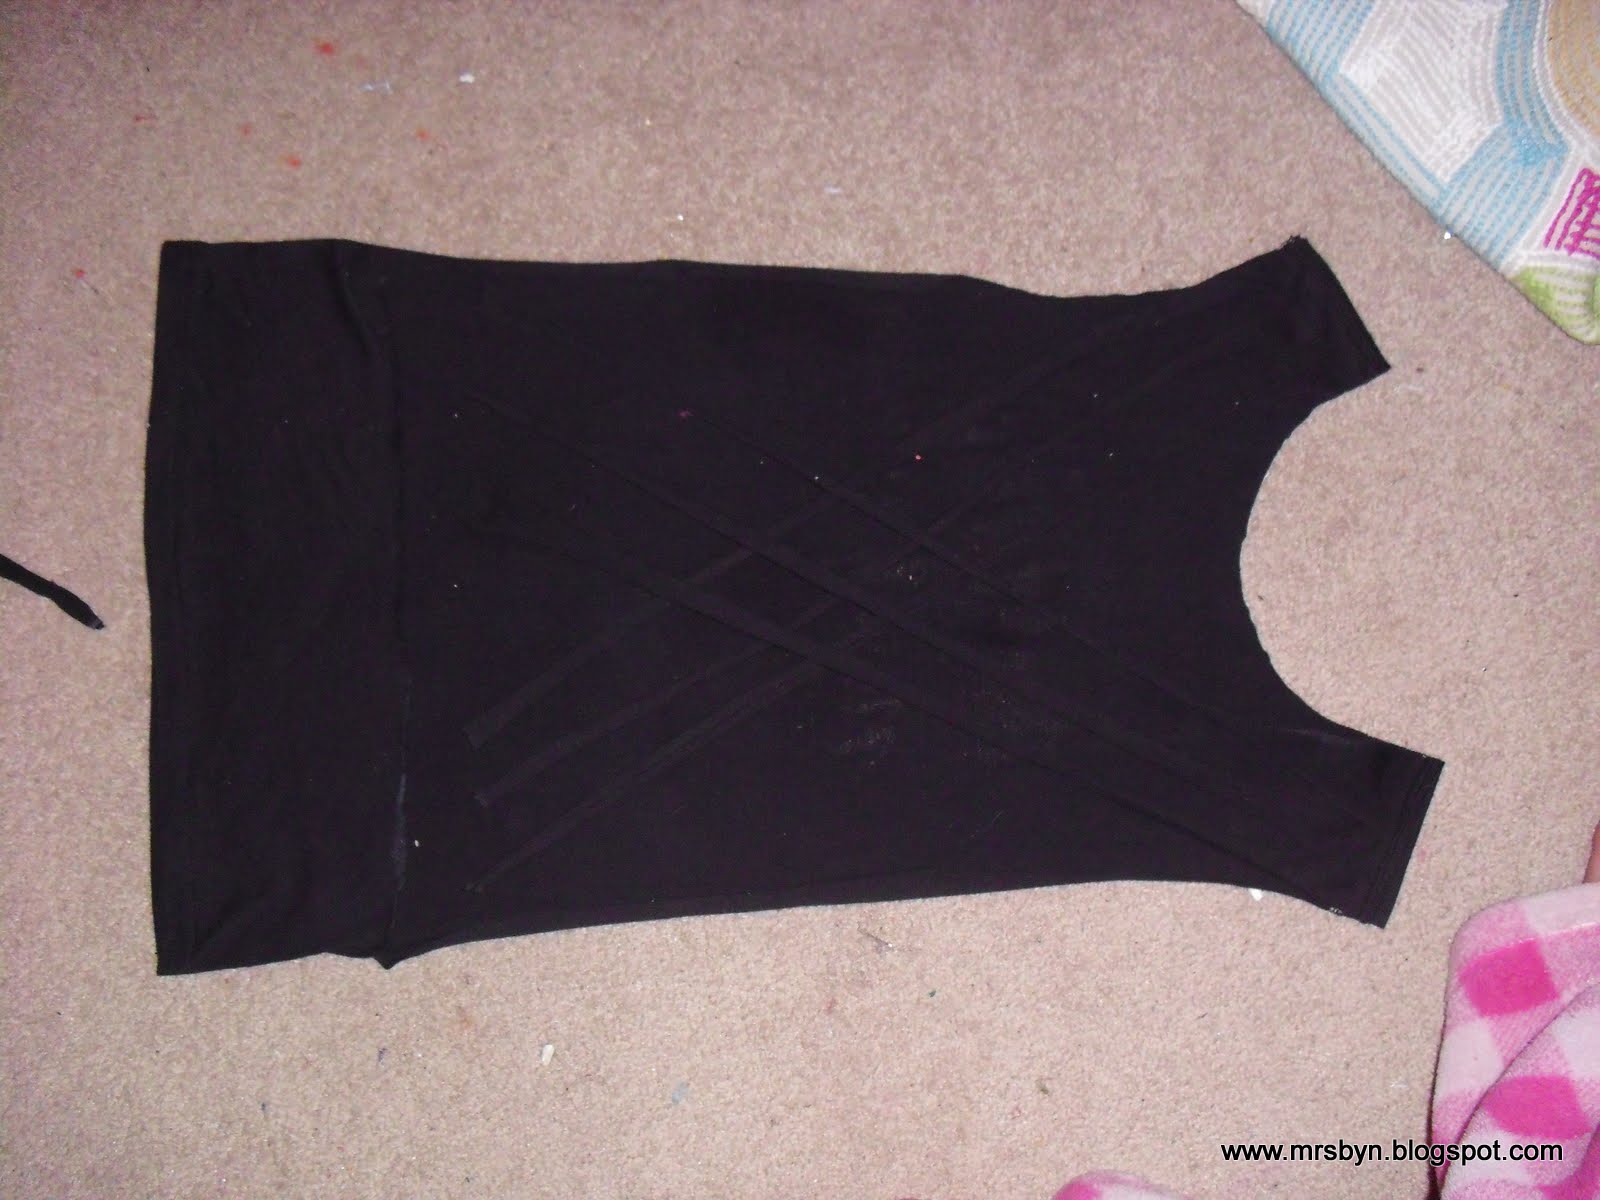

             if you can see that :)


     then get a sewing needle and thread the color of your shirt
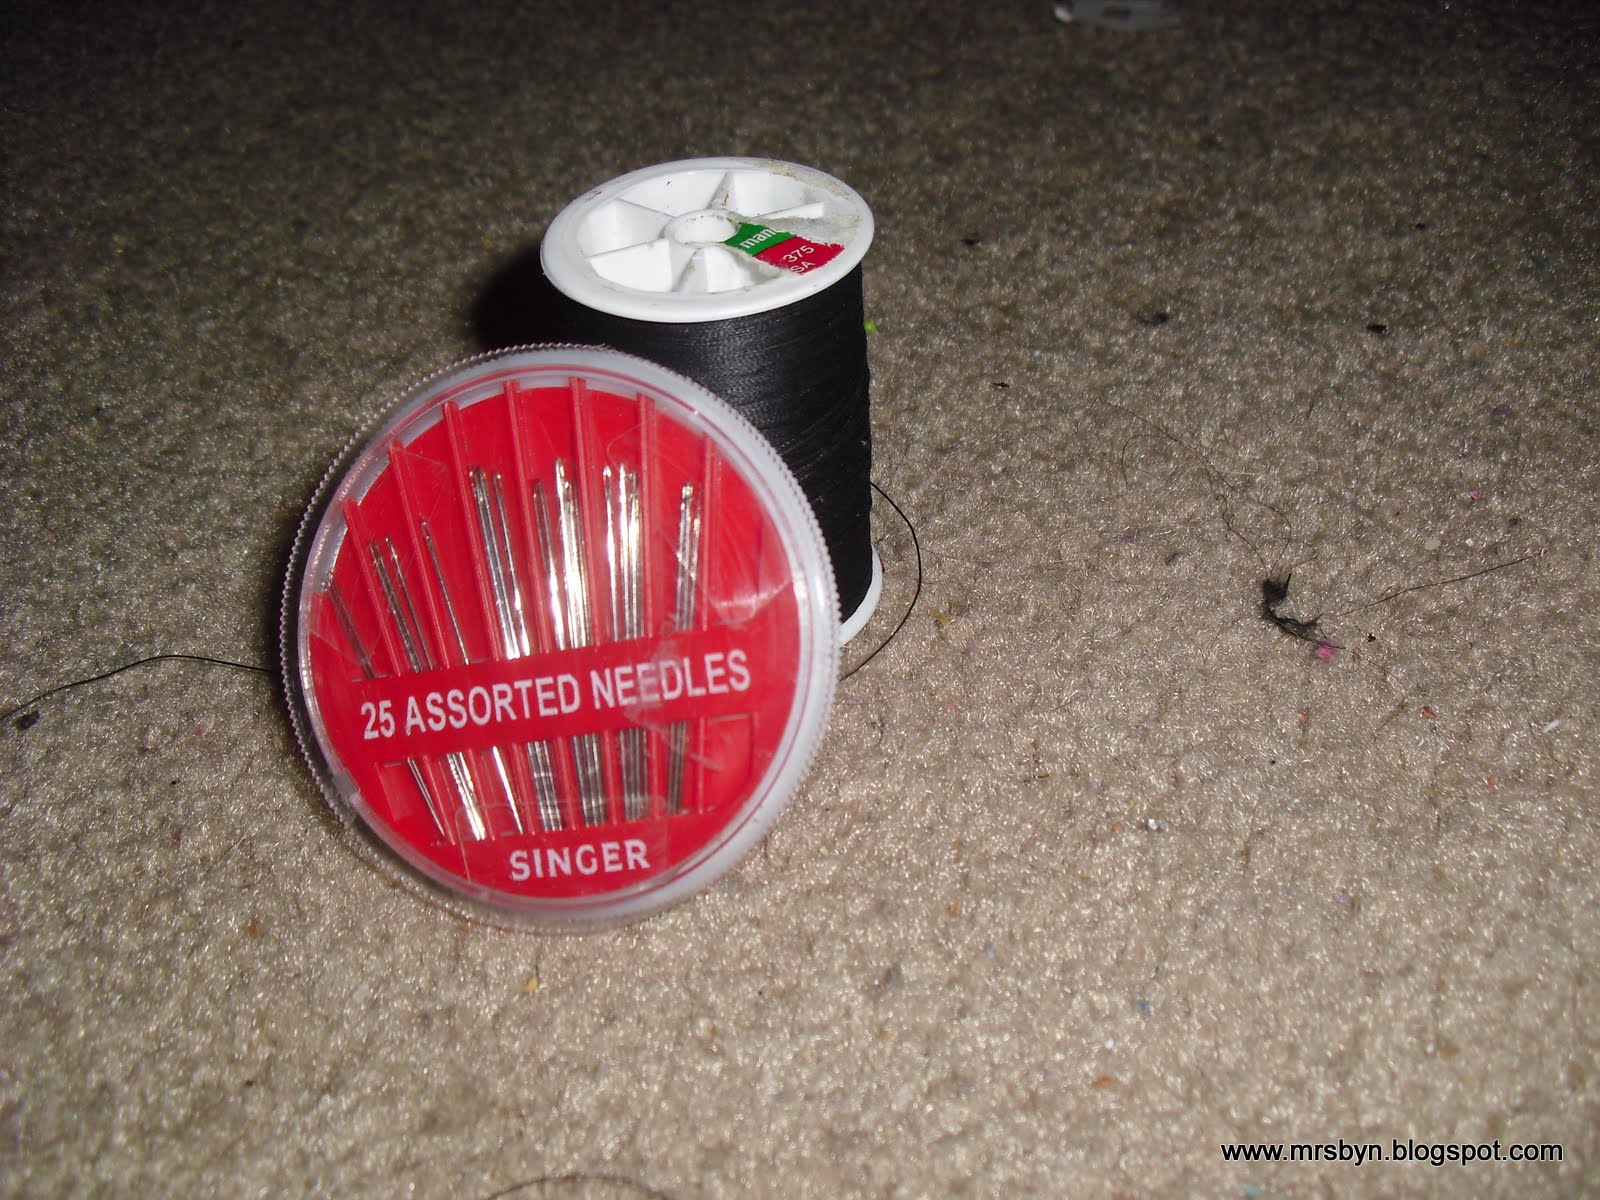

 thread your needle and start sewing the end of the strings right where you placed them (optional) weaving them in the the middle where the strings from the different sides meet in the middle
 viola your done! and you can either wear it with a colorful tube top or if like me that's not aloud a colorful tank top or Cami under it!


SNEEK PEEK: at my purple Haze shirt!


Hope you enjoyed reading this guys! this is obviously an old post transferred from my old blog but I thought you might enjoy it anyway! thanks for reading!

Mar 15, 2012

7 Day fashion blogger challenge Join Me!!!

7  Day fashion blogger challenge Join Me!!!


Alright lets get straight to the point! OK so I don't know if you guys have ever seen project runway?
If not its pretty much a TV show with I think 20 fashion designers and each day/couple of days they get a challenge like Day one make an evening gown out of things just from the dollar store and stuff like that! So I LOVED the idea of having challenges like that because I want to be a fashion designer sometime in the future so I decided  I wanted to do my own little challenge thing and I want YOU to join me.

(If you would like to participate in my challenge please leave your blog/channel link below in the comments)

So here is what I'm going to do...  For the next five days (starting on Monday the 26th) I will have a challenge each day and both you and me will make a video/or blog post about that challenge on your YouTube channel or blog and the finished products so here is the challenges starting on Monday!

MON- Day 1 challenge- Pick 10-15 articles of clothing and under 10 accessories and shoes from your closet (take pictures of these) and create 10 different outfits using only those 10-15 articles of clothing and accessories (take pics of these as well). Try and make the outfits each look unique and different but still something you would wear then


TUES- Day 2 challenge- Make something (or several somthings) stylish out of plain old tee shirts! Start by drawing designs of them (try to make a couple different ones) scan them and put them at the top of your blog post, then get to making one of your designs. You can cut, sew, glue, add other fabric, alter whatever you can think of! (this can be a different type of shirt, dress, pants, accessories anything really!)

Photo from here
Great Inspiration- http://pinterest.com/studiodloft/remake-a-shirt/
Photo from here


Photo from here


WED- Day 3 challenge- This challenge is going to be a bit more difficult...  Today the challenge is to design and draw 3 outfits, One evening gown, something spring/summery, and the last one is your choice! Now for the little twist! These outfits have to be made of trash bags! Explain how you would get the different textures or pasterns in your designs and make a video/post about it and I will check it out!
Photo from here


THUR- Day 4 challenge- Show me 5-10 different ways to tie a scarf, take pics, put it in a post.

Photo from here

FRI-  Day 5 challenge- Style and put together 3 outfits 1 dressy, 1 casual, 1 your choice using mainly a men's button up dress shirt, take pictures, put it in a post/video and link it in the comments

Photo from here

WEEKEND- Final challenge- Remember those trash bag designs we made? yes? well today we are going to make them in real life! So first chose your favorite out of all 3 designs you made and get to work making it. Don't forget to take pictures or the steps and final product and put it in a video/ or blog post!
Photo from here


RULES:
1. you do not have to do each challenge but if you do try and make a blog post or video about that days challenge

2. at the top of your post's put a link to this post so other people can join in and look at our projects

3. you can start any day of the week! Be it Tues. Friday or Monday you are welcome to join in!

Thanks for reading hope you enjoyed check back on Monday to start seeing my challenge post's!
I you guys like this and want to see more challenges let me know!

Feb 17, 2012

5 Ways to organize your space for under $20... #1

5 Ways to organize your space for under $20... #1 Great ideas for how to organize your things and keep them that way.


Pegboard  $20 for 2 


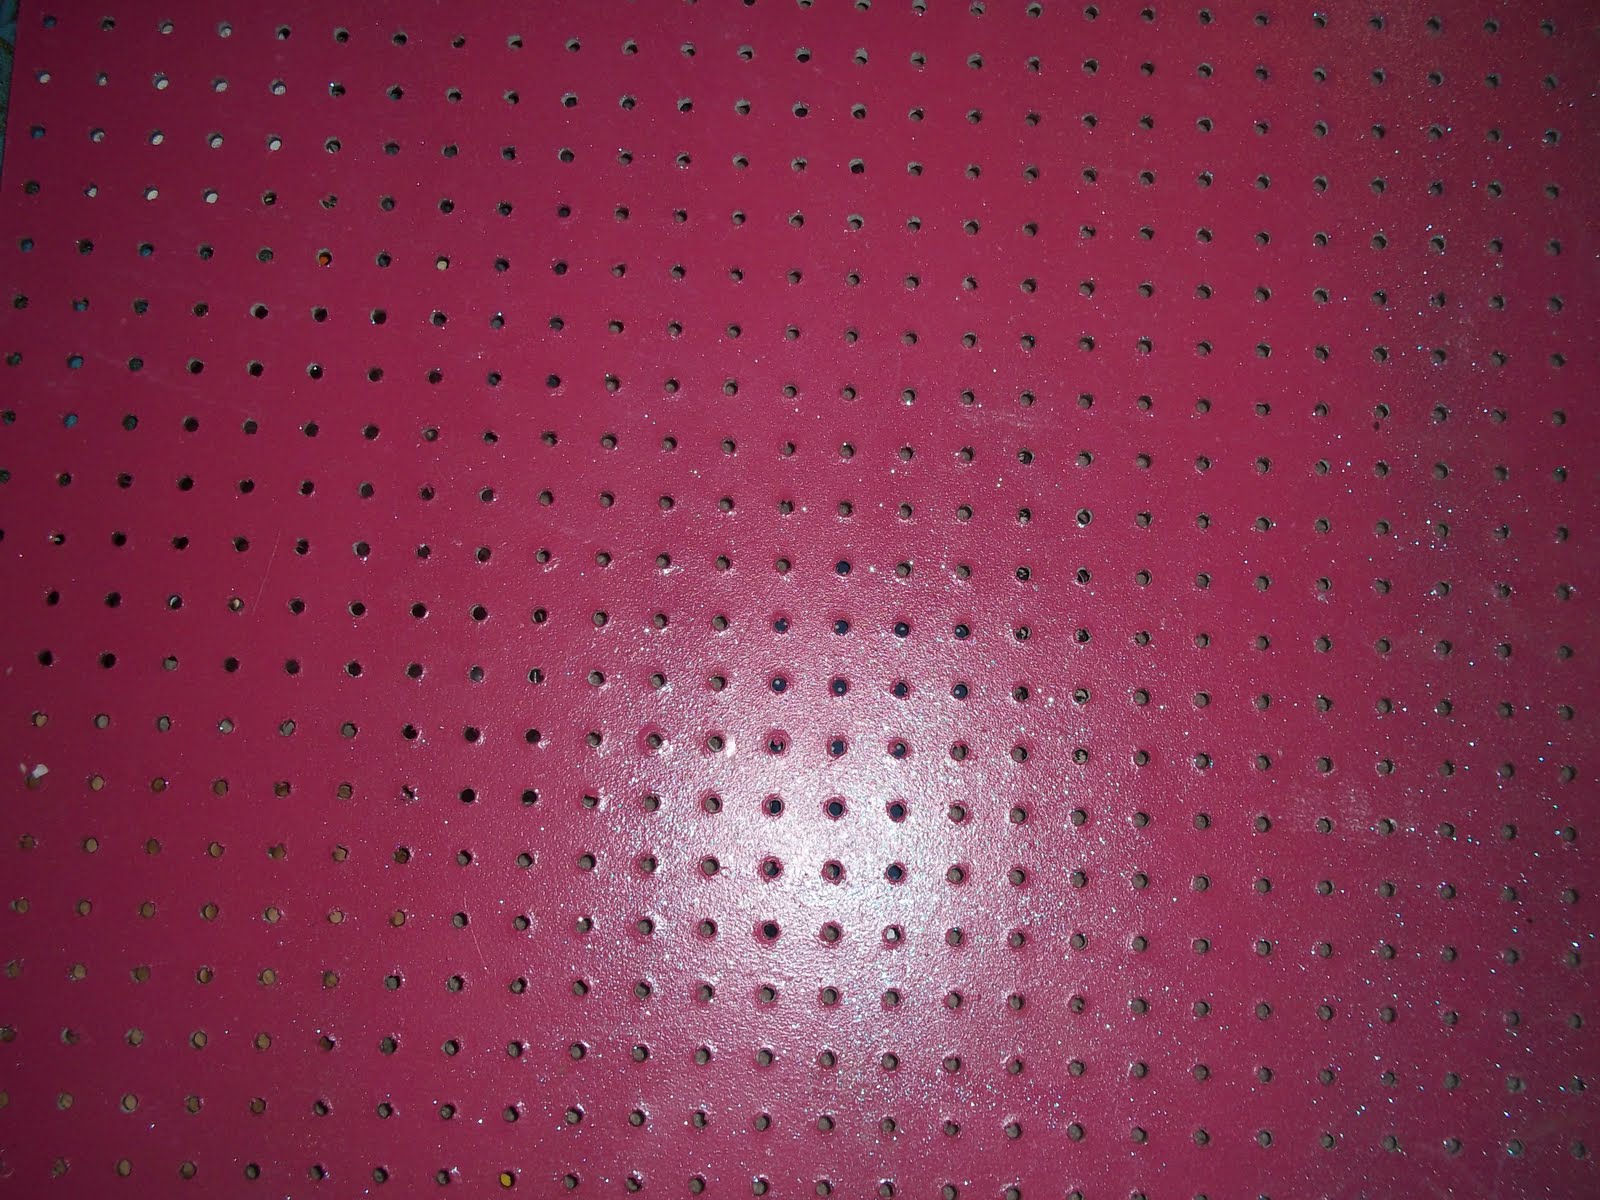
Pegboard is GREAT for organizing, and if you don't want an ugly piece of wood on your wall you can  paint it and put it in a frame if you like.


So first obviously paint your peg board and frame if you wish ( 6.00 for the board 4.00 for paint)


Hang that on your wall 


Than you are going to need  the things you put on the peg board (i'm only useing about 1/3rd of the hangings that were 14.00 a box for 40 somthing pieces )


Organize your stuff in it and your done! I obviously used mine for my fashion design/sewing area but some other good ideas are, for the office, kitchen, bathroom or bedroom all under $20.00


Hope you enjoyed! 

Feb 16, 2012

DIY cheap drawer/makeup organizer

DIY drawer/makeup organizer
So today i;m going to show you how to make your own drawer organizer ( I used mine for makeup)
 I am going to make two lengthwise dividers and 1 shorter ones to go inside those long ones so it looks like this (right) I have seen organizers like these in stores and online price ranging from $10 to $30 so I decided to make my own using cheap products so here is a list of things you will need to get started:
Cardboard box
Pencil 
Scissor's or an xcacto knife
Elmer's glue AND hot glue gun
ruler
Scrap booking paper (you can purchase single pieces of craft paper at most craft stores)

Feb 14, 2012

Valentines day DIY Face mask

Hello everyone and happy valentines day! I am going to treat myself with a spa day at home I am going to do mani pedi's with my little sister and this face mask hope you enjoy and subscribe to my youtube channel!
An easy face mask that is good if you have: uneven skin tone, red blotchy skin, dry skin, acne problems, oily skin or a dull skin tone that needs brightening up! 

Jan 19, 2012

Peacock inspired makup tutorial


Follow Me on Pinterest

Follow Me on Pinterest